I'm both excited disappointed when I think about starting this series on Indiana's 1st birthday. Excited because I really did hand make EVERYTHING for his birthday, and it all turned out pretty amazing. Disappointed because I didn't take many pictures! I hadn't planned on documenting everything, but would once in a while ask my husband to take a few pictures of my process. But the most disappointing part is that my camera died half way through the party so I only got a few pictures of everything set up. I'll try my best to describe my process in making everything, but no guarantees. If you have questions about a specific thing, please email me!
When I started planning Indiana's birthday, I thought I wanted a real theme. But then I quickly realized that he isn't really interested in anything. I'm not gonna push "Where the Wild Things Are" on my 1 year old who is NOTHING at all like Max just because I wanted to see him in a fuzzy white outfit, sporting a crown on his head. So instead, I just chose a few colors that I liked and did a lot of fun crafts to decorate the place. I think it turned out pretty good.
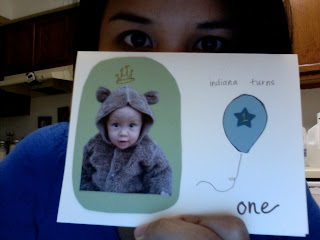 |
| This is the only picture I have of the invitations and it's the draft! I kept it basically the same, but turned the background of his picture into a rectangle with rounded corners. I had pictures of Indy in his Halloween costume printed at Kinkos on regular paper in 3x5 which made them really simple to work with. I bought packages of plain greeting cards and envelopes at the Craft store which are really useful. I cut balloon shapes and got a star punch for the "1" balloon and on the inside of the card was a brown cut out with all of the info for the wedding in gold writing. |
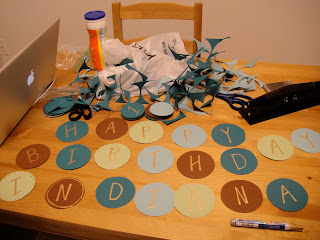 |
| A birthday banner. I made these out of card stock that happened to be on sale when I went to Michael's, looking for inspiration. I used the inside of a roll of duct-tape to trace circles onto the card stock and cut them out. Then using a chisel-tipped gold paint maker, I wrote out "Happy Birthday Indiana" in individual letters. |
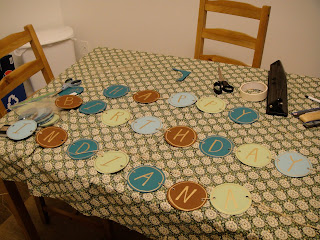 |
| I added a border around each letter, because they just looked too empty. Then I punched holes on either side of the circle and threaded them onto some Jute String (which is one of my most favorite things!) I also taped the back of each letter so they wouldn't turn or slide. Make sure your strings are the appropriate length according to how you want to hang them. I hung mine on top of one another, so the string that said, "Indiana" was the longest. |
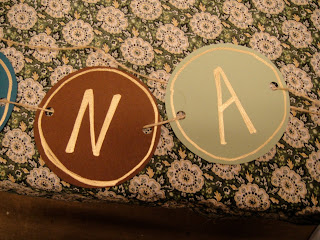 |
| Details up close. |
 |
My second undertaking was some bunting. I bought a pack of colored tissue paper and used only the colors that worked with the theme, the rest I saved for Christmas (which was only a month away, Indy's bday fell on Thanksgiving eve last year). I cut rectangles to about 4x2" with the idea that they would be folded in half.
This is very simple, all you need is colored tissue paper, string, scissors and glue sticks.
1. Cut rectangles according to how large you want your bunting squares to be
2. Cut a length of string with at least a foot on either end that will be used to tie to a post or wherever you wish to hang your bunting string
2. Create a pattern with the tissue rectangels
3. Fold the tissue in half with the string in the crease and apply glue to both sides as well as on the string to ensure that the tissue stays and doesn't slide. Glue sticks are best for this task as liquid glue will run and make the tissue look wilted and wrinkly.
4. Leave about a 6" gap between each square & repeat! |
 |
| The finished product! Store the banner by wrapping it around something tall and round. I used a few wine bottles. This will keep your squares from being folded or wrinkled and will also keep the entire banner from getting tangled in itself. I made two 15-ft banners and they really made the party seem a lively! |


